A Guide to Pipe Welding
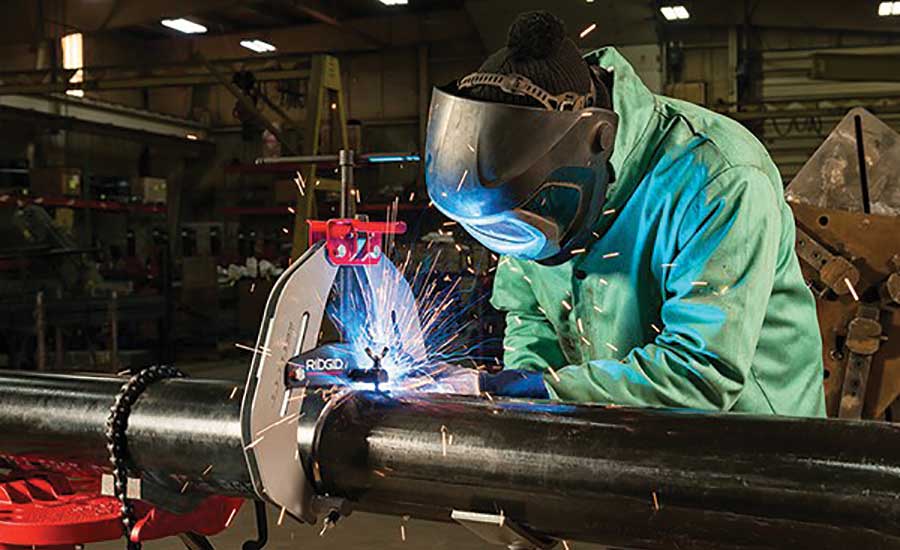
As you advance through your welding career, you’ll be forced to work on a wide range of jobs, using various metals of different thicknesses. Joining curved pieces of metal is more difficult than welding flat sheets, so by far, the most challenging process you’re ever likely to come across is pipe welding, where you will be required to join cylindrical metal tubes using either SMAW or gas shielded arc welding processes. The pipe welding positions and techniques are often quite uncomfortable, especially if the pipe is fixed and access is restricted. As a result, before you even think about tackling pipe welding, it’s important to perfect the art of plate welding first. Learning the structural welding basics will give you a much better understanding of welding in general, which is a great foundation for more complex procedures.

As pipe welding is so difficult, welders who excel at this skill tend to earn higher salaries than those employed to use other welding techniques. As a result, the 6G pipe welding certification is one of the most sought-after certifications in the industry.
Just getting started? Begin your knowledge journey with article: "What is Welding? Types of Welding and their Terminologies"
How to Weld Pipes - Basis Guide and Process
If a welding joint does not use a tacked backing plate, it’s known as open root welding, which is the most common process used while pipe welding. This is particularly difficult because you’ll essentially be welding across a gap (albeit a small one) so it’s important to use the right technique so that you don’t make a mess of the whole job.
Every welder will have a ‘good’ side and a ‘bad’ side when it comes to welding, depending on whether they’re left- or right-handed. Think about it: as you move around the pipe, at some point your hand will be blocking your view. For right-handed welders the left-hand side of the pipe is the challenge; for left-handed welders, it’s the right-hand side of the pipe which is the most difficult. Anticipating this obstacle and learning how to overcome it is the best way to ensure super strong, neat welds every time. Always remember that gravity will have an effect on the weld pool, so whichever is your strongest hand, the bottom half of the pipe will probably be more challenging than the top.
It’s a good idea to start by tack welding your materials together, as this will hold them in place securely, allowing you to take time and care over welding properly. Cut out and feather your tacks, as this will reduce the number of defects in the final weld.
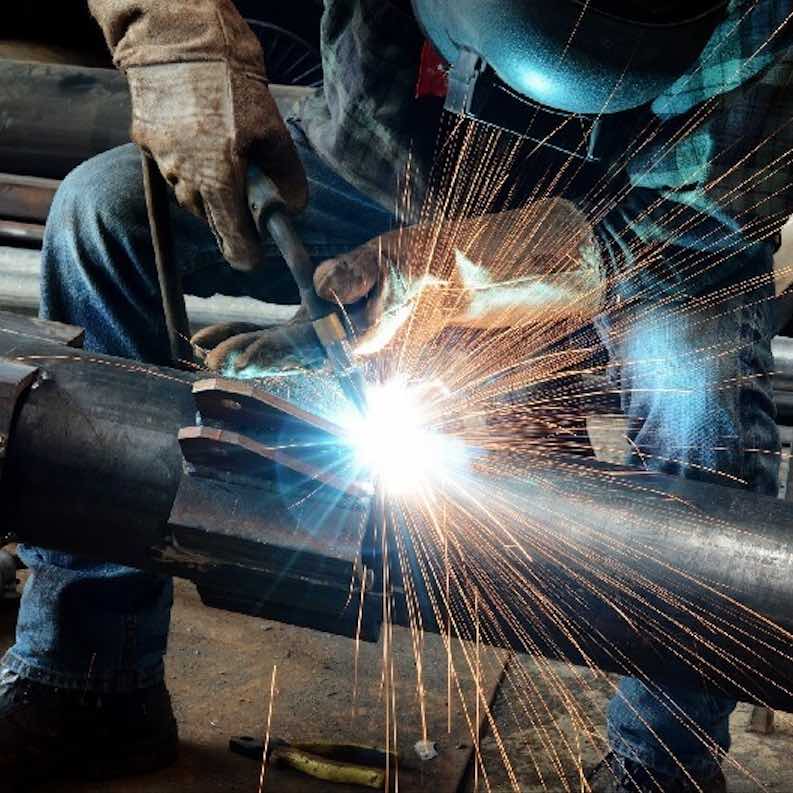
Whenever you start and stop pipe welding, always do so on the side wall – never in the gap. Start the arc, wait for the weld pool to form, then slowly and gently move across the open root to the other side. Slowly zigzag your way along the open root for the first section of the pipe until you have to change your position.
Think of the pipe in terms of a clock face, and divide it up into sections. Start at the 12 o’clock position, and work round to 3 o’clock, then stop and make sure you’re comfortable and prepared for the next section, and repeat this process until you’ve completed the entire weld. As you go, make sure you tie in all your tacks properly – and if you have to do several passes, stagger these tie-ins rather than keeping them all at the same point around the pipe.
Pipe welding often uses quite thick, heavy-duty materials, and the open root nature of the welds means that penetration can be poor if not done properly. Leaving poorly penetrated welds on tough, industrial pipe welding jobs can be disastrous. You’ll need to ensure that you achieve full penetration, but given that it’s unlikely that you’ll be able to weld from the inside of the pipe as well as the outside, you can combat this potential problem by using a groove weld.
Pipe Welding Positions
There is a system of letters and numbers which acts as a code to indicate which joint type and position to use.
Fillet welds do exist with pipe welding, but they’re very uncommon: they’re indicated by the letter F. Far more common are groove welds, which you can identify with the letter G. There are four main pipe welding positions, numbered 1, 2, 5 and 6.
- The 1G position isn’t used very often, but it’s still important to recognize it. This is pretty much just flat welding because the pipe will be lying on its side (on the curved edge) and can be rotated as you weld.
- The 2G position is fixed, which means that the pipe cannot be turned as you weld. In this case, the pipe is placed on its base, which makes it much sturdier and more stable to weld.
- The 5G position is similar to 1G in that the pipe is placed horizontally, except that it is fixed and cannot move. This will require you weld in a variety of different positions, including overhead. Vertical up and vertical down directions – which are both used in this position – are techniques which have specifications set up the ASME and API.
- The 6G position is the most challenging because it involves the pipe being fixed at a 45º angle. This requires welding in all positions and incorporates the ‘good’ and ‘bad’ sides that were discussed earlier.
If you come across the letter R in pipe welding codes, this indicates a restricted welding position, which can either be physically or visually.
Aluminum welding presents many more challenges than welding steel or other metals when learning how to weld aluminum. Click here to find out a guide to aluminum welding when it is a must-have skill for anyone who takes their welding seriously.

Testing Your Pipe Welding
Whether it’s part of getting your pipe welding certification or just to verify the quality of your work, there are a number of ways in which you can test the strength of your pipe welding and the quality of the welds.
- Inspecting the weld visually is one such method, which is by far the cheapest, quickest and easiest. It involves nothing more than looking at the weld to discern its quality, which can be a very subjective process. It can’t be used as a reliable method for detecting internal weld defects, so this method is mainly used when poor quality welds won’t put anyone or anything in danger.
- Liquid dye penetrant testing is the second method, where a dye is sprayed or brushed onto the surface of the metal. The dye will highlight any surface cracks or imperfections which aren’t visible to the naked eye, making it more effective than a visual inspection, although the cost of the dye does mean that it’s marginally more expensive.
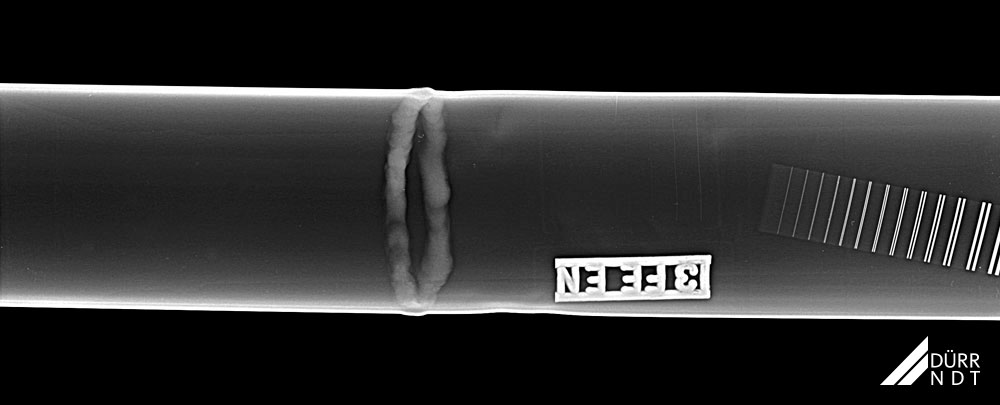
- X-ray testing is the only really practical method of detecting internal weld defects, which is why it’s used on jobs where the quality of the weld is important for safety reasons. It works in a very similar way to X-rays which we have on the human body to look at broken bones, except on a much grander, more industrial scale. As a result, there are some risks associated with this method, so it should only be carried out by trained professionals. It’s an extremely effective way of checking weld quality which is why it’s used for many pipe welding jobs, but it is the most expensive method by a long shot.

These three methods are called non-destructive testing (NDT), where the welds must remain intact. However, when you’re practicing or being tested as part of your certification, it may be appropriate to actually break apart your pipe weld by separating it into sections and testing the strength and quality of each one.
What Else Do You Need To Know?
What happens if you have a go at pipe welding, and you mess up? What if your weld isn’t strong enough or good enough? You’ll need to repair that section of welding, but this might seem like a pretty daunting task. Actually, it’s fairly straightforward to repair an open root weld. Rather than worrying about the whole pipe, just grind the defective area down. Once you’ve returned that section to the same size and shape of the original groove, and after having opened up the root again, just re-weld that section as normal.
You can train in various different pipe welding techniques and earn certifications for each of the different pipe welding positions. However, as mentioned previously, a 6G welding certification is really appealing to many welders (and employers) because of the high skill level which the technique requires.
There are numerous different welding schools up and down the country through which you can gain welding qualifications and certifications. It helps you achieve your hands-on experience in everything from preparing joints for 2G welding right through to troubleshooting problems associated with 6G welding. Course costs can cost a few thousand dollars depending on the institution, but you’ll more than reap the rewards in your paycheck once you qualify.
As it’s such a tricky skill to master, gaining the 6G pipe welding certification is a pretty rigorous process. You won’t just need to prove that you can use a welding machine; your welds will be tested for penetration, quality, and you may even be forced into a tight space with a restricted view to test your all-position welding technique.
Conclusion
Mastering the art of pipe welding will take you and your welding career far beyond the potential of hobby or ordinary flat plate welding. You will learn some of the most challenging welding techniques in the industry, but you’ll gain a highly prized skill set which is desired by employers and which will probably lead to a higher salary. You won’t need any extra special equipment, but this isn’t a welding process for the half-hearted.
These tips and techniques are enough to get you started, but for practical, real-life experience, make a concerted effort to attend a reputable welding school to ensure that you gain a professional 6G welding certification. It’ll be your biggest challenge to date, but learning to pipe weld will change your career forever.
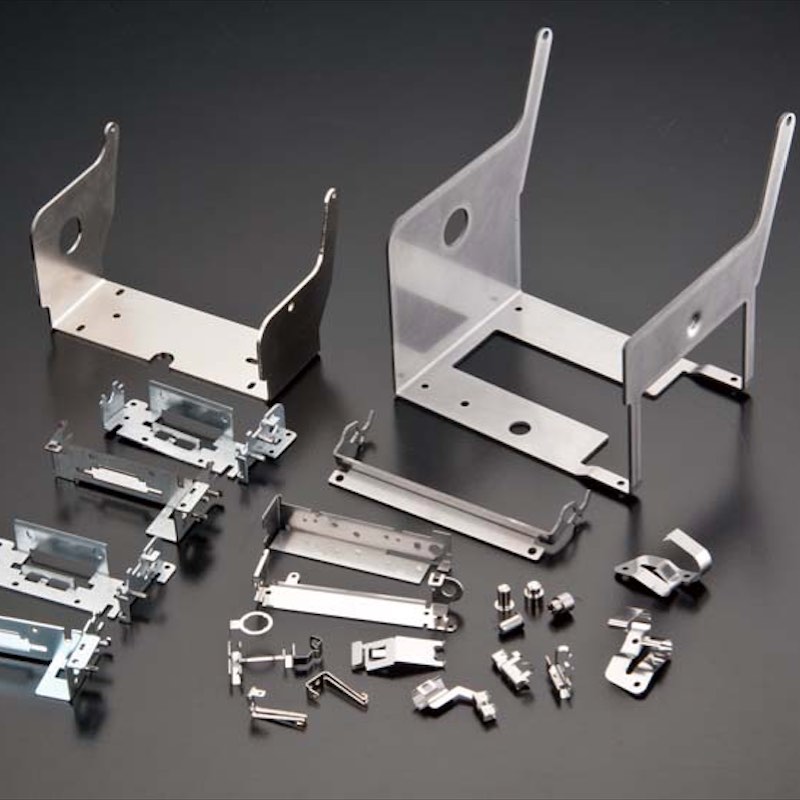
I hope our article will give you a fundamental base from which you can achieve the latest knowledge about sheet metal fabrication field.


